
The DADU Timeline: What Really Happens Between Design and Move-In
A transparent look at planning, permitting, utilities, and construction realities
Most investors think building a DADU takes “about six months.” It doesn’t.
That’s just the construction phase, not the full story. Between design revisions, city reviews, and utility coordination, the real DADU timeline in Seattle runs closer to 12–18 months from concept to completion.
If you don’t understand the stages and how to move through them strategically - you’ll lose time, money, and momentum before your first nail hits wood. So here’s the truth: the build is the easy part. The process is what separates rookie investors from operators.
Let’s break it down step by step.

Before you ever design a thing, you need to confirm what’s actually possible on your lot. This is where most investors either set the project up for success or kill it quietly without realizing it.
Checklist for a real feasibility study:
Zoning: Confirm if your lot qualifies (SF 5000, RSL, or LR zones are gold).
Setbacks: Front, rear, and side yards determine your buildable area.
Trees & Easements: Protected trees or recorded easements can limit footprint.
Utilities: Verify locations of sewer, water, and power. Utility trenching is often the silent budget killer.
Topography: Slopes can trigger extra engineering and drainage requirements.
Order your survey and utility as-builts immediately - they’re the foundation for everything else.

Once feasibility checks out, the design team gets to work. This is where you turn concepts into buildable plans - but it’s not as simple as “draw a house.” You’ll move through three rounds:
Schematic Design: Layout and size of the structure, parking, and access.
Design Development: Floor plan refinement, elevations, and material direction.
Construction Documents: Structural, mechanical, electrical, and drainage details required for permit submission.
Key lessons:
Small design changes early save thousands later.
Aim for simplicity - every corner, roofline, and finish detail affects cost and permitting.
Keep utility runs short and direct to the main house.
Finalize finishes after permit submittal - don’t let aesthetic tweaks stall approvals.

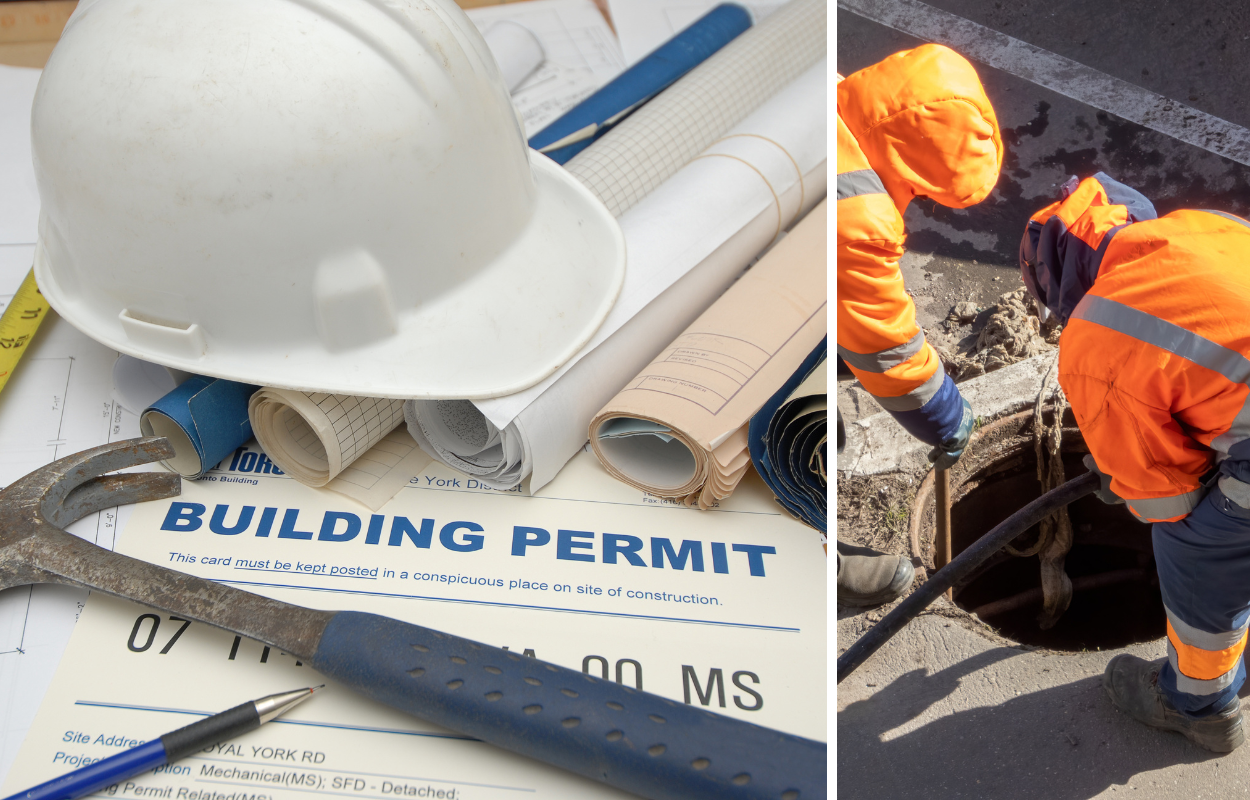
This is the longest and most misunderstood part of a DADU project. In Seattle, permitting runs through SDCI and typically includes:
Building permit
Land use review (if required)
Drainage review
Utility coordination
Expect at least one round of corrections after your first submission. Each correction cycle adds 3–6 weeks. Delays happen when:
Drawings are incomplete or inconsistent.
Site plans miss key dimensions.
Utility notes or tree plans are missing.
Be proactive. Call the reviewer after submittal. Clarify questions quickly. Investors who manage the process - not just wait - cut weeks off review time.

Once your permit is issued, don’t rush straight to framing. The site and utility groundwork can make or break your budget.
Tasks during this phase:
Trenching for sewer, water, power, and gas
Installing utility conduits and meter bases
Tree protection fencing and erosion control
Foundation excavation and formwork
Utility coordination between Seattle City Light, SPU, and PSE is often the bottleneck. Get those applications in early, ideally during permitting.
Keep your GC, utility contractor, and city reviewers in one email chain. Every missed inspection = days lost.

Now the fun part - the build. Typical order of operations:
Foundation & framing
Roofing & windows
Rough-in (plumbing, electrical, HVAC)
Insulation & drywall
Interior finishes & exterior siding
Landscaping, decks, and driveways
What separates profitable builds:
Weekly site walks and photo updates
Transparent draw schedules tied to milestones
Contingency set aside (minimum 10%) for surprises
Plan your finish orders early. Lead times on windows, cabinets, and appliances can delay move-in by weeks.

When the last nail is in, you’re still not done. You’ll go through:
Final city inspection for Certificate of Occupancy (CO)
Utility sign-offs and meter activation
Punch list walkthrough with your GC
Staging, photos, and rent-ready prep
This is the phase where burnout hits, don’t check out early. Every missed detail (loose railing, smoke detector, unpainted trim) can delay your CO.
Hire a third-party inspector before the city’s final walk. Catch small issues before they become reinspection delays.

Phase Timeline (Weeks) Key Focus
Feasibility 2–4 Zoning, survey, utilities
Design & Engineering 6–10 Plans, structural, layout
Permitting 16–24 City reviews & corrections
Utilities & Site Prep 4–8 Trenching, foundation
Construction 24–32 Build & finishes
Final Inspections 4–6 CO & occupancy
Total: 12–18 months from concept to completion.
Don’t buy the “6-month build” myth. A successful DADU isn’t a sprint - it’s a system. Every phase connects to the next. The more you plan upfront, the smoother it runs later.
Builders build homes. Investors build processes.